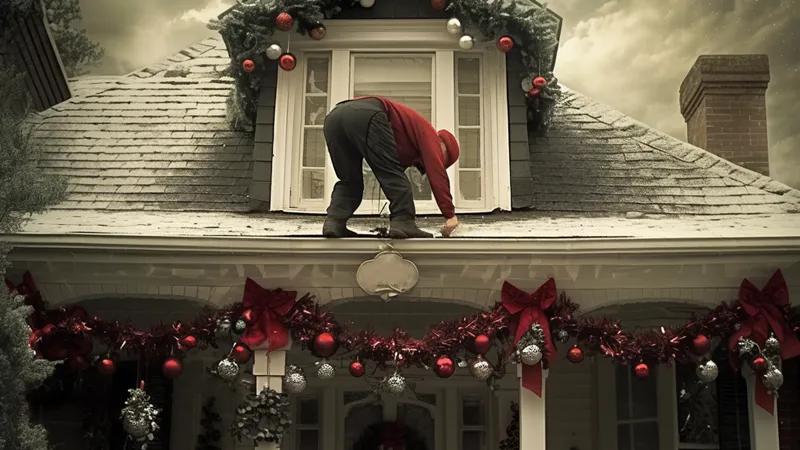
Ready to make your house the holiday highlight of the block? While you’re channeling Clark Griswold from Christmas Vacation or aiming for the whimsical charm of Buddy’s Christmas tree in Elf, transforming your rooftop into a festive wonderland takes more than just stringing up lights. You’ll need to balance creativity with safety to avoid turning your holiday joy into a scene from Home Alone—complete with an accidental rooftop slip.
Step 1: Assess Before You Stress
Before even thinking about stringing those lights, take a page from any Christmas classic where things go hilariously wrong—don’t be the guy dangling from the gutter! Start by inspecting your roof and gutters. Make sure there are no loose shingles or clogged gutters, which can cause damage during winter storms or when you overload your roof with festive décor.
Roof Checklist:
- Check for leaks or damage
- Clear debris from gutters
- Inspect shingles and roof integrity
Step 2: Plan Like a Pro (or the Grinch)
Once you’re confident your roof can handle the festive fun, it’s time to plan your light show. Think about a theme, just like Buddy decorating the department store in Elf—whether it’s classic icicle lights or a more minimalistic approach with white lights outlining the roof. Don’t forget to calculate your power needs so you don’t blow a fuse like Clark Griswold did.
Planning Tips:
- Sketch a basic layout
- Decide on a theme (Winter Wonderland, Santa’s Workshop, etc.)
- Check power supply and weatherproof decorations
Step 3: Gearing Up for Safety
Channel your inner safety marshal—before heading up, get the right tools. A sturdy ladder and non-slip shoes can be the difference between a smooth setup and a holiday disaster. And if you’re dealing with height or a tricky roof, don’t hesitate to strap into a safety harness. No one wants their holiday highlight reel to include a trip to the ER!
Step 4: Light It Up—Safely
Now it’s time for the fun part: hanging those lights! Use weatherproof clips to hang lights along gutters or roof edges, and avoid using nails or staples that can damage your home. And remember to keep everything evenly spaced for a neat and polished look.
Safety Tips:
- Use plastic clips for lights
- Work with a partner—never decorate alone
- Keep cords off the ground to prevent water damage
Step 5: Creative Ideas for the Win
Need some inspiration? Channel National Lampoon’s or Elf and mix it up. Try outlining your roof with LED lights or create a focal point with a giant inflatable Santa or reindeer. Or, go modern with a projection mapping system that creates moving light displays—perfect for avoiding the hassle of hanging too many physical decorations.
Creative Décor Ideas:
- LED string lights for energy efficiency
- Rope lights for outlining edges
- Inflatable figures or projectors for an easy wow factor
Step 6: Post-Holiday Cleanup
Once the season is over, don’t channel the Griswolds by leaving decorations up until February. Carefully remove lights and decorations, making sure everything is packed neatly for next year. Clean your gutters again to avoid winter damage, and check for any wear and tear on your roof.
Conclusion: Deck the Roof with Care (and Joy)
In true Christmas Vacation style, decorating your rooftop can bring joy and holiday spirit to your home—if done right! Whether you’re going all out like Clark Griswold or aiming for a more subtle display, safety and planning should be top priorities. Remember, the best holiday displays aren’t just about shining bright, they’re about doing it safely and with style.
So, before you hit the roof with tangled lights and inflatable reindeer, take a moment to assess, plan, and gather the right tools. A thoughtful approach ensures your display will be the talk of the neighborhood—for all the right reasons.
When it’s all lit up, kick back and enjoy the glow with your family, knowing you’ve created a dazzling, safe, and festive masterpiece. Just try not to get too carried away like in Christmas Vacation!


